To begin with, create an account with Dynamics 365 CRM.

Tool Usage

Step 1: Login to Clodura 

Step 2: Authorize Clodura to Access Your Dynamics 365 CRM Account 

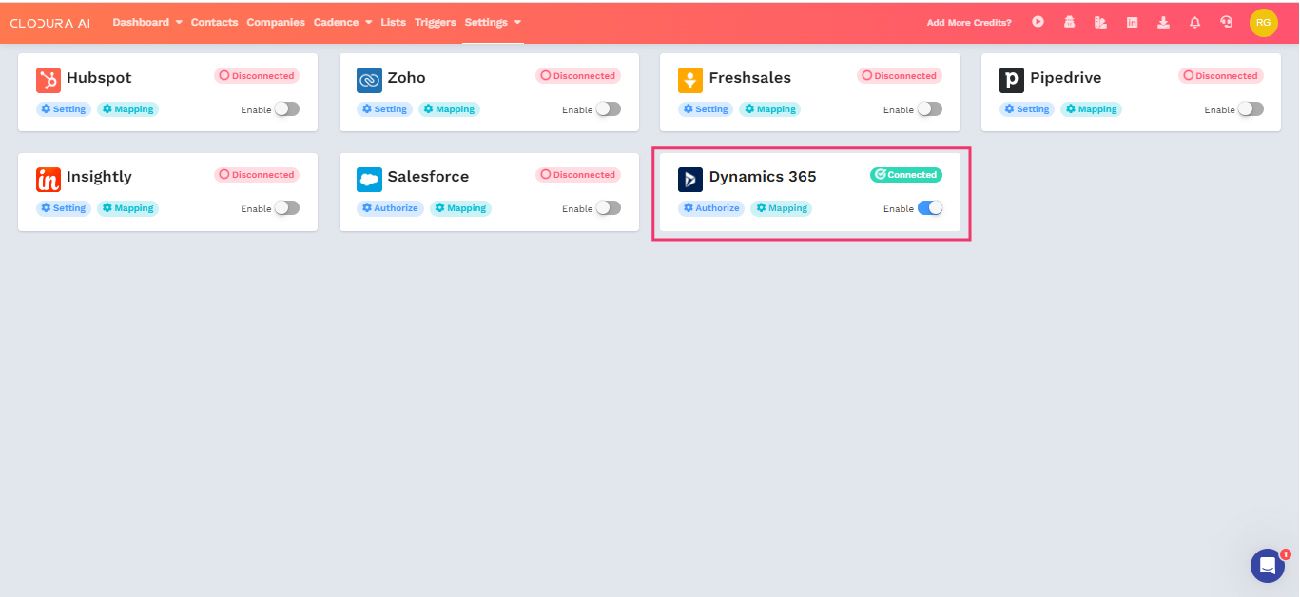
  • In the Clodura dashboard, click Settings. 
  • In the CRM Integrations section, click Dynamics 365 CRM. 
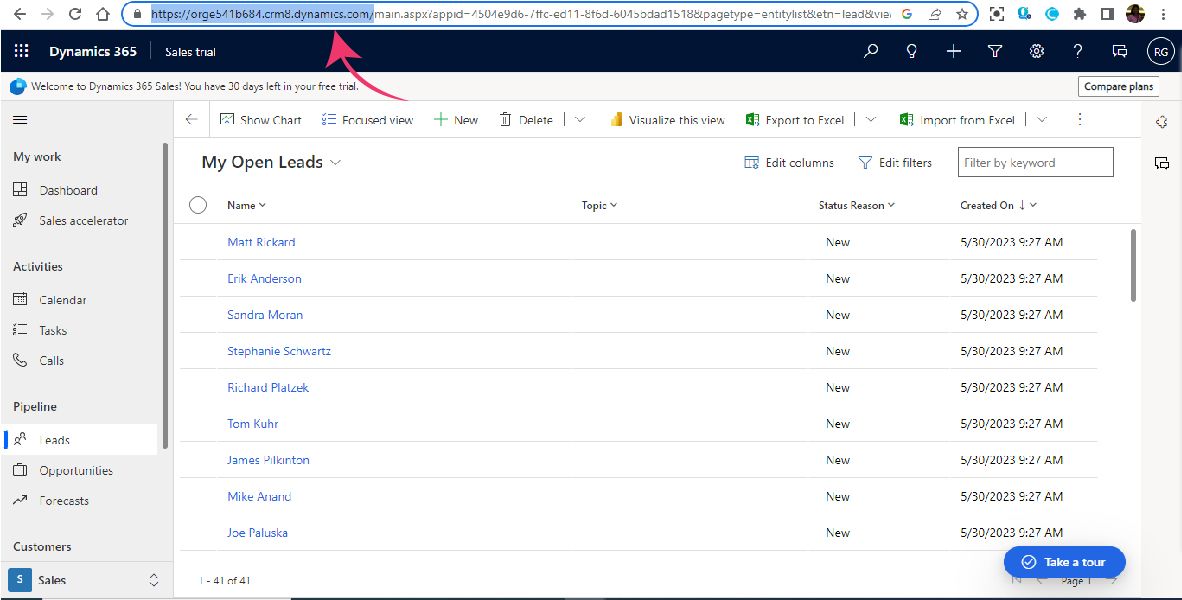
  • In a new browser tab or window, login to your Dynamics 365 CRM account. 

Step 3: Click Authorize in the Clodura dashboard. 

  • In the Domain URL field, copy and paste the URL from your Dynamics 365 CRM account. 
  • Click Connect. 

Step 4: Verify the Integration 

  • After clicking Connect, you will be redirected to the Microsoft login page. 
  • Follow the prompts to authorize Clodura's access to your Dynamics 365 CRM account. 
  • Once authorized, you should receive a message indicating successful connection. 
Tool Usage
Tool Usage

Step 5: Field Mapping 

  • After successful integration, navigate back to the CRM Integrations section in Clodura. 
  • Click on Mapping to access the field mapping interface. 
  • Ensure to select only standard fields for mapping purposes. 
  • Once the mapping is complete, click on Save to save the configurations. 

Step 6: Enable Toggle 

  • Locate the toggle switch related to the Dynamics 365 CRM integration. 
  • Enable the toggle to activate the integration. 

Step 7: Exporting Contacts/Companies to CRM 

  • Go to the Radar section in Clodura's interface. 
  • Select the desired contacts or companies to export. 
  • Click on Export and choose the option for exporting to CRM. 

Step 8: Export Confirmation and Report 

  • After exporting contacts/companies to Dynamics 365 CRM, Clodura will provide a notification within the application confirming the successful export. 
  • Additionally, an email will be sent to your registered email address containing a detailed report of the exported contacts/companies. 

Completion 

This completes the flow for integrating Clodura with Dynamics 365 CRM and exporting contacts/companies to the CRM system. 

Tool Usage