


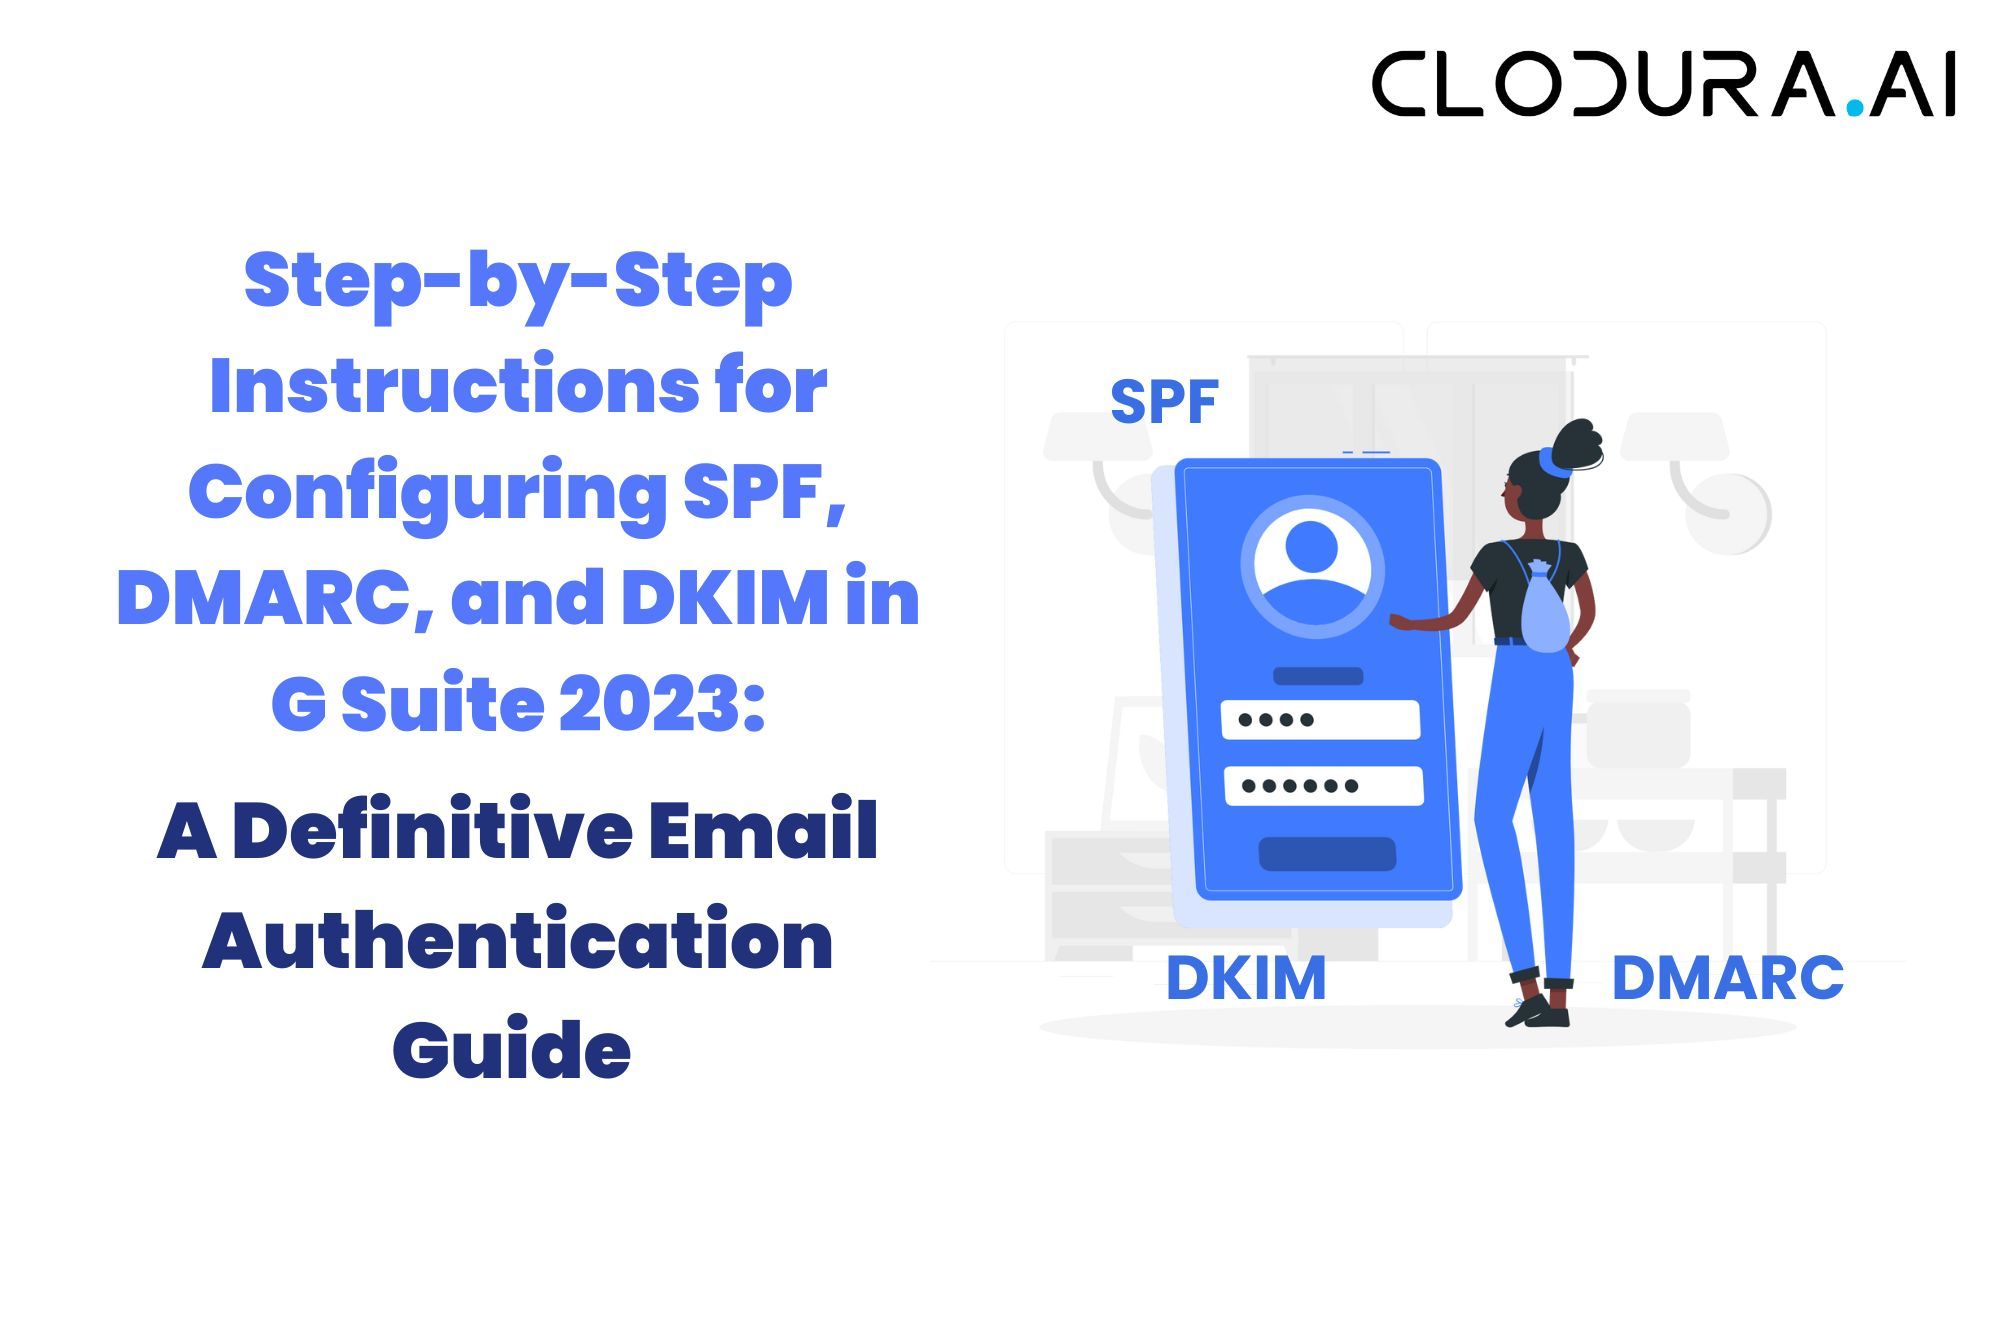
Are you tired of your emails ending up in the recipient's spam folder? Do you want to ensure that your emails are authenticated and delivered securely? Look no further – this definitive email authentication guide will show you how to configure SPF, DMARC, and DKIM in G Suite 2023, step by step.
Authenticating your emails is crucial for ensuring that they are not marked as spam or phishing attempts. In this comprehensive guide, we will explain what SPF, DMARC, and DKIM are, why they are important, and how to set them up in your G Suite account.
With clear instructions and detailed screenshots, you will be able to navigate through the G Suite administration console to configure these email authentication protocols. We will demystify the technical jargon and break down the process into simple, manageable steps.
By following this guide, you will enhance your email deliverability, protect your domain from email spoofing, and foster trust with your recipients. Get ready to take control of your email authentication and ensure that your messages land in the inbox, just where they belong.
Understanding SPF (Sender Policy Framework)
The Sender Policy Framework (SPF) is an email authentication protocol that allows domain owners to specify which servers are authorized to send emails on behalf of their domain. SPF helps prevent email spoofing and improves email deliverability. When an email is received, the recipient's email server can check the SPF record of the sending domain to verify if the email is coming from an authorized server.
To configure SPF in G Suite, follow these steps:
1. Log in to your G Suite admin console.
2. Go to the "Apps" section and select "G Suite."
3. Click on "Gmail" and then "Authenticate Email."
4. Under "Authenticate Email," click on "Set up SPF records."
5. Follow the instructions provided to add the necessary SPF record to your domain's DNS settings.
6. Save the changes and wait for the DNS changes to propagate.
By correctly configuring SPF in G Suite, you can ensure that your emails are authenticated and improve their deliverability.
SPF, DKIM & DMARC Tutorial | How to setup SPF, DMARC & DKIM in Gsuite 2023
Configuring SPF in G Suite
DMARC (Domain-based Message Authentication, Reporting, and Conformance) is an email authentication protocol that combines SPF and DKIM to provide a higher level of protection against email spoofing and phishing attacks. DMARC allows domain owners to specify how email servers should handle emails that fail authentication checks.
To configure DMARC in G Suite, follow these steps:
1. Log in to your G Suite admin console.
2. Go to the "Apps" section and select "G Suite."
3. Click on "Gmail" and then "Authenticate Email."
4. Under "Authenticate Email," click on "Set up DMARC policies."
5. Follow the instructions provided to add the necessary DMARC record to your domain's DNS settings.
6. Save the changes and wait for the DNS changes to propagate.
Configuring DMARC in G Suite will provide an additional layer of security to your emails and help prevent domain spoofing.
Understanding DMARC (Domain-based Message Authentication, Reporting, and Conformance)
DKIM (DomainKeys Identified Mail) is an email authentication method that allows the recipient's email server to verify the authenticity of the email's source. DKIM uses cryptographic signatures to ensure that the email has not been modified during transit and that it is indeed coming from the claimed domain.
To configure DKIM in G Suite, follow these steps:
1. Log in to your G Suite admin console.
2. Go to the "Apps" section and select "G Suite."
3. Click on "Gmail" and then "Authenticate Email."
4. Under "Authenticate Email," click on "Set up DKIM keys."
5. Follow the instructions provided to generate and add the necessary DKIM keys to your domain's DNS settings.
6. Save the changes and wait for the DNS changes to propagate.
Configuring DKIM in G Suite will add an additional layer of trust to your emails and help prevent them from being marked as spam.
Configuring DMARC in G Suite
After configuring SPF, DMARC, and DKIM in G Suite, it is essential to test and troubleshoot your email authentication setup to ensure everything is working correctly. Here are some steps you can take:
1. Send test emails to different email providers and check if they pass the authentication checks.
2. Use email authentication testing tools to verify if your SPF, DMARC, and DKIM configurations are correct.
3. Monitor your email deliverability and investigate any issues or errors that arise.
4. Regularly check your email authentication reports to identify any unauthorized or suspicious activity.
By regularly testing and troubleshooting your email authentication setup, you can ensure that your emails are being delivered securely and are not being flagged as spam.
Understanding DKIM (DomainKeys Identified Mail)
While configuring SPF, DMARC, and DKIM is crucial for email authentication in G Suite, there are also some best practices you should follow to enhance your email deliverability and security:
1. Keep your SPF, DMARC, and DKIM records up to date and regularly review them for any changes.
2. Enable email authentication reporting to receive valuable insights into your email authentication status.
3. Implement a strong email filtering system to prevent unauthorized emails from reaching your recipients.
4. Educate your users and employees about email security best practices, such as avoiding clicking on suspicious links or downloading attachments from unknown sources.
5. Regularly monitor your email deliverability and take immediate action if you notice any issues or anomalies.
By following these best practices, you can maintain a secure and trustworthy email communication system within your G Suite environment.
Configuring DKIM in G Suite
Configuring SPF, DMARC, and DKIM in G Suite is essential for authenticating your emails, improving deliverability, and protecting your domain from spoofing and phishing attempts. By following this step-by-step guide, you can navigate the G Suite administration console with ease and configure these email authentication protocols successfully.
Remember to regularly test and troubleshoot your email authentication setup, follow best practices, and stay vigilant against potential threats. With proper email authentication in place, you can ensure that your emails land in the inbox, fostering trust with your recipients and enhancing your overall email communication. Take control of your email authentication today and enjoy the benefits of secure and authenticated email delivery in G Suite.
Testing and troubleshooting email authentication setup
DKIM (DomainKeys Identified Mail) is an email authentication method that allows the recipient's mail server to verify the authenticity of the email's domain. By configuring DKIM in G Suite, you can add a digital signature to your outgoing emails, providing a level of assurance to the recipient that the email is indeed from the claimed domain.
To configure DKIM in G Suite, follow these steps:
1. Log in to your G Suite account and navigate to the Admin console.
2. From the Admin console, go to the "Apps" section and click on "G Suite."
3. In the G Suite dashboard, select "Gmail" and then "Authenticate email."
4. Look for the "DKIM" section and click on "Enable" to turn on DKIM signing for your domain.
5. Follow the instructions provided to add the necessary CNAME record to your domain's DNS settings.
6. Once the DNS changes have propagated, click on "Start authentication" to verify that the DKIM signing is correctly configured.
Congratulations! You have successfully configured DKIM for your G Suite account. Now, let's move on to testing and troubleshooting the email authentication setup.
Best practices for email authentication in G Suite
After configuring SPF, DMARC, and DKIM in G Suite, it's essential to test and troubleshoot the email authentication setup to ensure everything is working correctly. This step is crucial in identifying and resolving any issues that may prevent successful authentication.
Here are some steps to test and troubleshoot the email authentication setup in G Suite:
1. Send a test email from your G Suite account to an external email address.
2. Check the email headers of the received email to verify if SPF, DKIM, and DMARC are passing authentication.
3. Use online email authentication tools, such as the G Suite Toolbox, to perform further tests and validate the authentication results.
4. If any issues are identified, review your configuration settings, DNS records, and ensure they align with the recommended best practices.
5. Reach out to G Suite support or consult online forums for additional assistance if you encounter persistent issues.
Remember, testing and troubleshooting are iterative processes. It may take some time and experimentation to fine-tune your email authentication setup. Be patient and persistent, and don't hesitate to seek help if needed.
Conclusion
While SPF, DMARC, and DKIM are powerful tools for email authentication, their effectiveness relies on proper configuration and maintenance. To ensure the highest level of email deliverability and security, consider the following best practices when working with email authentication in G Suite:
1. Regularly monitor email authentication reports and take action on any failed or misconfigured authentication results.
2. Keep your SPF and DKIM records up to date as you add or remove authorized senders or change email service providers.
3. Implement DMARC to monitor and enforce email authentication policies, protecting your domain from unauthorized use.
4. Consider using a third-party email delivery service that specializes in email authentication to enhance your email deliverability.
5. Stay informed about the latest email authentication standards and best practices to adapt your configuration accordingly.
By following these best practices, you can maintain a robust email authentication setup that ensures your emails reach the intended recipients' inbox and builds trust with your audience.
FAQs
Q. What is SPF in G Suite 2023 and how do I set it up?
SPF (Sender Policy Framework) in G Suite 2023 helps verify email authenticity by specifying authorized sending servers. To set it up, add an SPF record in your DNS with Google's include: _spf.google.com.
Q. What is DMARC in G Suite 2023, and how can I configure it?
DMARC (Domain-based Message Authentication, Reporting, and Conformance) in G Suite 2023 enhances email security and authentication. To configure it, create a DMARC TXT record in your DNS with your preferred policy (none, quarantine, or reject) and an email address for receiving reports.
Q. What is DKIM in G Suite 2023, and how do I enable it? DKIM
(DomainKeys Identified Mail) in G Suite 2023 ensures email authenticity by adding a digital signature to outgoing messages. Enable DKIM in your G Suite admin console, and DNS will automatically publish the necessary DKIM records.
Q. How do I test if SPF, DMARC, and DKIM are correctly set up in G Suite 2023?
Use online email authentication testing tools like DMARC Analyzer or Google's Postmaster Tools to verify if your SPF, DMARC, and DKIM configurations are correct.
Q. What are the recommended SPF, DMARC, and DKIM settings for G Suite in 2023? Google recommends using their default SPF record, setting up a DMARC policy of "quarantine" or "reject," and enabling DKIM for all G Suite domains to enhance email security and authentication.
