
Email authentication is crucial for ensuring the deliverability and security of your emails in Salesforce CRM integration. By setting up SPF, DKIM, and DMARC for your domain, you can protect your reputation and prevent unauthorized use of your domain.
Steps to Configure SPF, DKIM, and DMARC in Salesforce
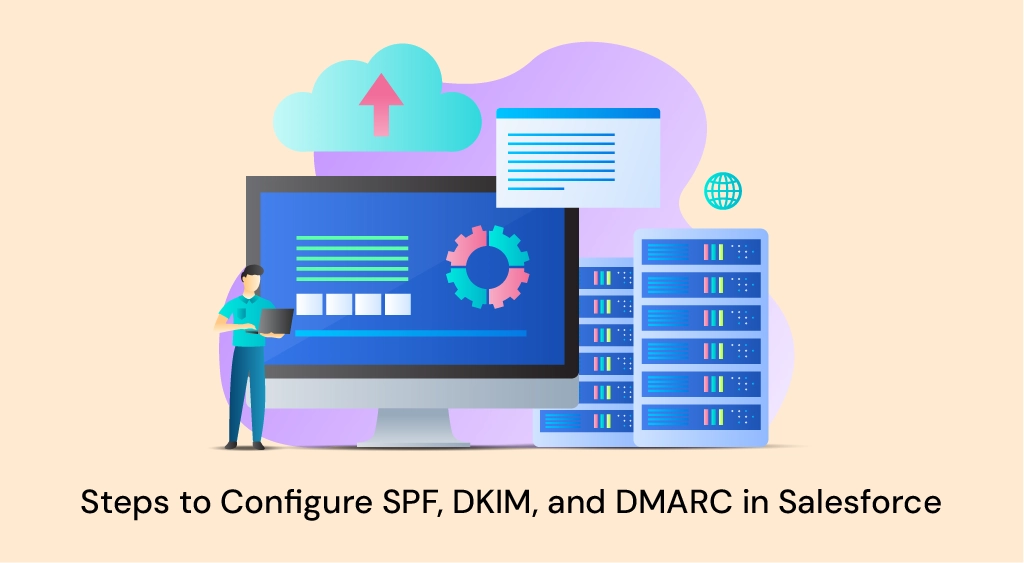
To set up SPF, DKIM, and DMARC in Salesforce, follow these steps:
Step 1: Understand SPF, DKIM, and DMARC
Before you start configuring, it’s important to have a clear understanding of what SPF, DKIM, and DMARC are and how they work. SPF (Sender Policy Framework) verifies that the sender is authorized to send emails on behalf of your domain. It checks the IP address of the sending server against a list of authorized servers for the domain. DKIM (Domain Keys Identified Mail) adds a digital signature to your emails to verify their authenticity. It uses a pair of cryptographic keys, one private and one public, to sign and verify emails. DMARC (Domain-based Message Authentication, Reporting, and Conformance) combines SPF and DKIM to provide a policy framework for email authentication. It allows domain owners to specify how email receivers should handle messages that fail SPF or DKIM checks.
Implementing SPF, DKIM, and DMARC can help protect your domain from email spoofing and phishing attacks. It ensures that only authorized servers can send emails on behalf of your domain, and that the emails are not tampered with during transit.
Step 2: Authenticate Your Domain
To authenticate your domain in Salesforce, you need to add the necessary DNS records. This usually involves adding TXT records for SPF and DKIM and a DMARC record. These DNS records contain information that email receivers can use to verify the authenticity of your emails.
When adding the SPF record, you need to specify the IP addresses or hostnames of the servers that are allowed to send emails on behalf of your domain. This helps prevent unauthorized servers from sending emails that appear to come from your domain.
The DKIM record includes a public key that email receivers can use to verify the digital signature on your emails. This ensures that the emails have not been modified in transit.
The DMARC record specifies the desired DMARC policy for your domain. This can be “none” (no action is taken), “quarantine” (suspicious emails are placed in the recipient’s spam folder), or “reject” (suspicious emails are rejected outright).
Step 3: Configure SPF
In the Salesforce setup, navigate to Email Administration > SPF Record and add your domain and SPF record. The SPF record should include the necessary information to authorize the servers that are allowed to send emails on behalf of your domain.
It’s important to ensure that the SPF record is correctly set up to include all the authorized servers. If any authorized servers are missing from the SPF record, emails sent from those servers may fail SPF checks and be marked as suspicious or rejected by email receivers.
Step 4: Configure DKIM
In the Salesforce setup, navigate to Email Administration > DKIM Key Management and generate a DKIM key pair. The DKIM key pair consists of a private key and a public key.
The private key should be kept secure and should only be accessible to the email server that will be signing the emails. The public key needs to be added as a CNAME record in your DNS settings. This allows email receivers to retrieve the public key and verify the digital signature on your emails.
It’s important to regularly rotate the DKIM keys to ensure the security of your email authentication. This involves generating a new key pair and updating the DNS records accordingly.
Step 5: Configure DMARC
In the Salesforce setup, navigate to Email Administration > DMARC Policy and add your DMARC record. The DMARC record specifies the desired DMARC policy for your domain.
When configuring DMARC, you can specify how email receivers should handle messages that fail SPF or DKIM checks. The “none” policy allows the emails to be delivered as usual, but you will receive reports on the authentication results. The “quarantine” policy places suspicious emails in the recipient’s spam folder. The “reject” policy outright rejects suspicious emails.
DMARC also allows you to specify an email address where you want to receive the authentication reports. These reports provide valuable insights into the authentication status of your domain and can help you identify and address any issues.
Step 6: Monitor SPF, DKIM, and DMARC
Regularly monitor the SPF, DKIM, and DMARC authentication for your domain in Salesforce to ensure everything is working properly. Salesforce provides reports and logs to help you track email authentication events.
You can also monitor these records by doing a TXT record lookup via online tools or CMD/Terminal commands. Doing it this way lets you verify that you have published the records correctly.
Monitoring the authentication status of your domain allows you to identify any issues or anomalies that may affect the deliverability of your emails. It’s important to promptly address any authentication failures to maintain the trust and reputation of your domain.
Salesforce SPF & DKIM Setup | Easy DMARC
Benefits of Setting Up SPF, DKIM, and DMARC in Salesforce
Setting up SPF (Sender Policy Framework), DKIM (Domain Keys Identified Mail), and DMARC (Domain-based Message Authentication, Reporting, and Conformance) in Salesforce offers several benefits:
1. Enhanced Deliverability:
With proper email authentication, ISPs (Internet Service Providers) are more likely to deliver your emails to recipients’ inboxes instead of spam folders. This means that your important messages, such as customer communications, marketing campaigns, and transactional emails, have a higher chance of reaching the intended audience promptly. By implementing SPF, DKIM, and DMARC, you can significantly improve the deliverability rates of your Salesforce emails.
2. Protection Against Spoofing and Phishing:
SPF, DKIM, and DMARC help prevent unauthorized use of your domain and protect your brand reputation from email scams. SPF allows you to specify which IP addresses or servers are authorized to send emails on behalf of your domain, reducing the risk of spoofing. DKIM adds a digital signature to your emails, verifying their authenticity and ensuring that they have not been tampered with during transit. DMARC combines SPF and DKIM, providing an additional layer of protection against phishing attempts and email fraud. By implementing these protocols, you can safeguard your organization’s reputation and build trust with your recipients.
3. Better Sender Reputation:
By authenticating your emails with SPF, DKIM, and DMARC, you establish a positive sender reputation. ISPs and email service providers consider authenticated emails as more trustworthy, which can lead to improved email deliverability and higher engagement rates. When your emails consistently pass authentication checks, ISPs are more likely to prioritize them, ensuring that they reach the recipients’ primary inboxes. This increased visibility can have a significant impact on your email marketing campaigns and customer communication efforts.
4. Visibility and Control:
DMAC provides detailed reports and insights into email authentication events, allowing you to identify and address any issues promptly. These reports give you visibility into which emails pass or fail authentication, providing valuable information about potential threats or configuration errors. By monitoring these reports, you can take proactive measures to resolve any authentication failures, ensuring that your emails are properly authenticated and delivered to the intended recipients. This level of control helps you maintain the integrity of your email ecosystem and protect your brand from potential email-based attacks.
Overall, setting up SPF, DKIM, and DMARC in Salesforce offers numerous benefits, including enhanced deliverability, protection against spoofing and phishing, better sender reputation, and increased visibility and control over your email authentication process. By implementing these protocols, you can optimize your email deliverability, protect your brand reputation, and ensure that your important messages reach the right recipients.
Overview of SPF, DKIM, and DMARC Records
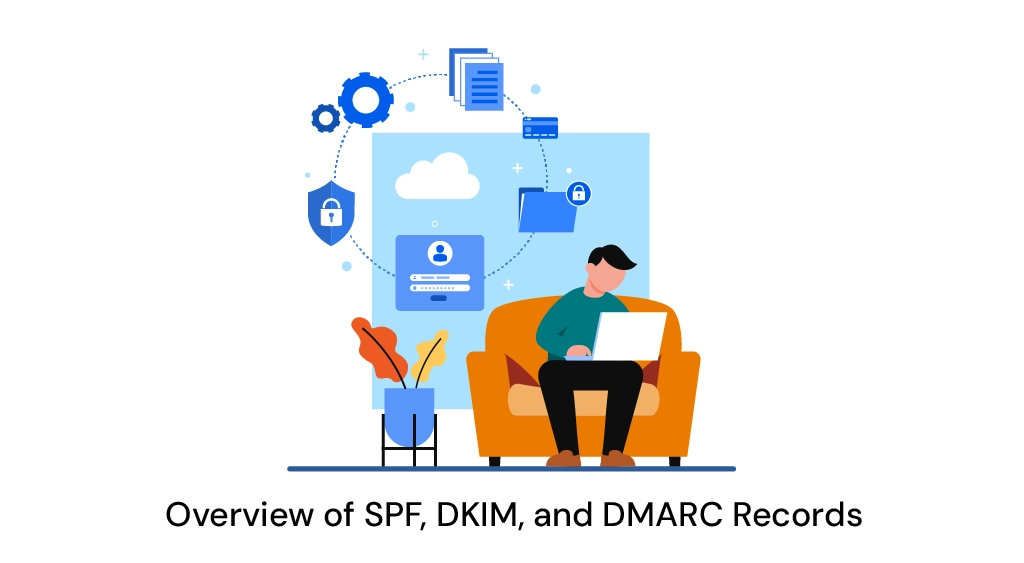
An SPF record is a DNS record that specifies which IP addresses or domains are authorized to send emails on behalf of your domain. It helps verify the sender’s identity. A DKIM record is a DNS record that contains a digital signature added to outgoing emails.
This signature is used to verify the email’s integrity and authenticity. A DMARC record is a DNS record that combines SPF and DKIM and provides a policy framework for email authentication.
How to Configure DMARC Policy in Salesforce
To configure the DMARC policy in Salesforce, follow these steps:
Step 1: Navigate to the DMARC Policy Setup
In the Salesforce setup, go to Email Administration > DMARC Policy to access the DMARC configuration options.
Step 2: Set Your DMARC Policy
Choose the desired DMARC policy for your domain. The policy options are “none,” “quarantine,” and “reject.” The “none” policy allows you to monitor email authentication without taking any specific actions. The “quarantine” policy instructs the receiving server to treat suspicious emails as spam. The “reject” policy directs the receiving server to reject emails that fail authentication.
Step 3: Publish Your DMARC Record
Once you have set your DMARC policy, publish the DMARC record to your DNS configuration by adding it as a TXT record.
Troubleshooting Tips for SPF, DKIM, and DMARC Setup in Salesforce
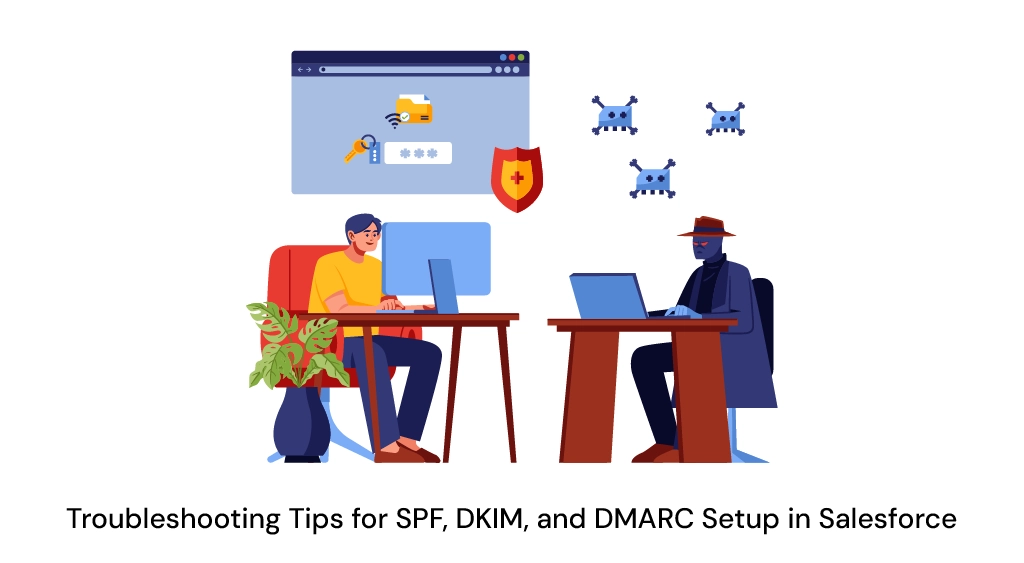
If you encounter any issues during the SPF, DKIM, and DMARC setup in Salesforce, consider the following troubleshooting tips:
- Double-check DNS Records: Verify that the SPF, DKIM, and DMARC records are correctly added to your DNS configuration.
- Verify DNS Propagation: DNS changes may take some time to propagate. Wait for the changes to propagate before expecting authentication to work correctly.
- Review SPF Syntax: Ensure that the SPF record syntax is correct, including the authorized IP addresses and domains.
- Check DKIM Key Configuration: Verify that the DKIM key pair is generated and added correctly as a CNAME record in your DNS settings.
- Monitor DMARC Reports: Regularly review DMARC reports to identify any authentication failures or issues.
How to Monitor SPF, DKIM, and DMARC in Salesforce
Once you have configured SPF, DKIM, and DMARC in Salesforce, it’s essential to monitor their performance. Salesforce provides tools and features to help you monitor email authentication:
- Reports: Salesforce offers comprehensive reports that provide insights into email authentication events, including SPF and DKIM validation results.
- Logs: The email log files in Salesforce contain detailed information about sent and received emails, including authentication status and any detected issues.
- Alerts and Notifications: Configure email alerts and notifications to receive updates on SPF, DKIM, and DMARC authentication events.
Best Practices for Setting Up SPF, DKIM, and DMARC in Salesforce
Follow these best practices when setting up SPF, DKIM, and DMARC in Salesforce:
- Regularly Review Reports: Monitor the reports provided by Salesforce to identify any authentication failures or potential issues.
- Implement Strict DMARC Policies: Consider implementing a “reject” or “quarantine” DMARC policy to protect your domain from unauthorized use.
- Enable Monitoring and Notifications: Configure monitoring and notifications to stay informed about authentication events and take prompt action if necessary.
- Periodically Review DNS Records: Verify that your SPF, DKIM, and DMARC records are up to date and accurately represent your email infrastructure.
With the appropriate setup and ongoing monitoring, you can ensure the security and authenticity of your emails in Salesforce by implementing SPF, DKIM, and DMARC authentication.
Frequently Asked Questions
SPF (Sender Policy Framework), DKIM (DomainKeys Identified Mail), and DMARC (Domain-based Message Authentication, Reporting, and Conformance) are email authentication protocols that help prevent email spoofing and phishing attacks.
Email authentication ensures that emails sent from Salesforce are trusted, reducing the risk of email fraud and phishing scams.
To set up SPF, DKIM, and DMARC in Salesforce, you need to create SPF and DKIM records in your DNS and then configure DMARC in Salesforce.
Incorrectly configured email authentication can result in emails being marked as spam or rejected, impacting your email deliverability.
While SPF and DKIM enhance email security, DMARC adds an extra layer of protection. It’s advisable to implement all three for comprehensive email security, but you can start with SPF and DKIM if necessary.

by Abhay Nawathey
Published on: May 25, 2026 |
Share: